This tutorial will explain how to install Windows 10x on a Hyper-v virtual machine. Hyper-v is a virtual machine application that is built into Windows 10. An underdeveloped version of Windows 10x recently leaked, so there will be some glitches and unexpected errors. Please do not use this as your primary workspace.
Operating system requirements for Hyper-v:
- Windows 10 Enterprise
- Windows 10 Pro
- Windows 10 Education
To view the full list of system requirements, visit Microsoft’s list here:
https://docs.microsoft.com/en-us/virtualization/hyper-v-on-windows/reference/hyper-v-requirements
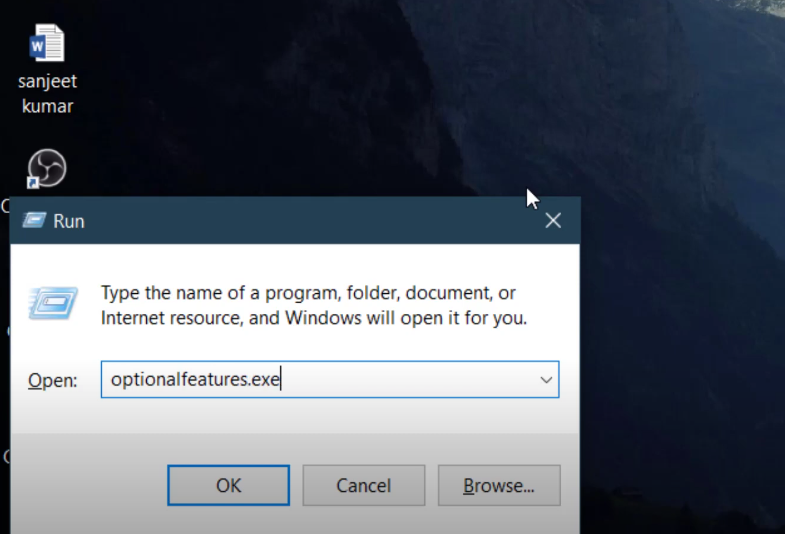
The first step is to enable Hyper-v. To do this, go the windows search bar, and type in “features,” then click on “turn windows features on or off.” Look for Hyper-v, and check it. Make sure all the sub-folders of Hyper-v are checked too. After clicking “OK,” it will take a while to install Hyper-v. After it installs, it might ask you to restart.

Once Hyper-v is successfully installed and opened, the next step is to download the Hyper-v install image which is titled “FlashEmu.7z.” You can download this file from Mega.nz: https://mega.nz/file/vzp2VKiT#4wts9eC1wXushqNBwgZfsYIhXsHwWFY2skHMkeqib7I
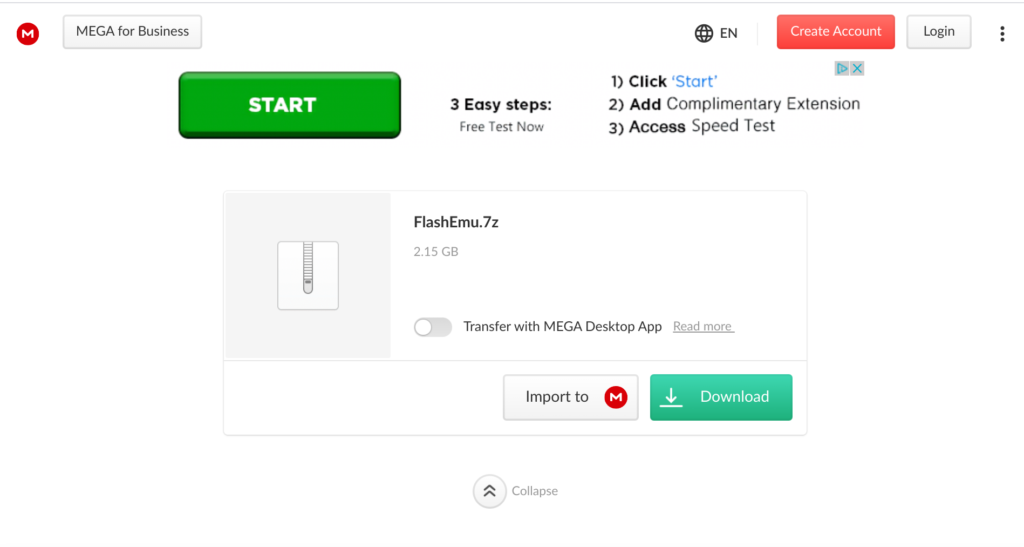
After this file is finished downloading, make sure you have winRAR installed. If you have this application, right click on the file and click “extract here.”
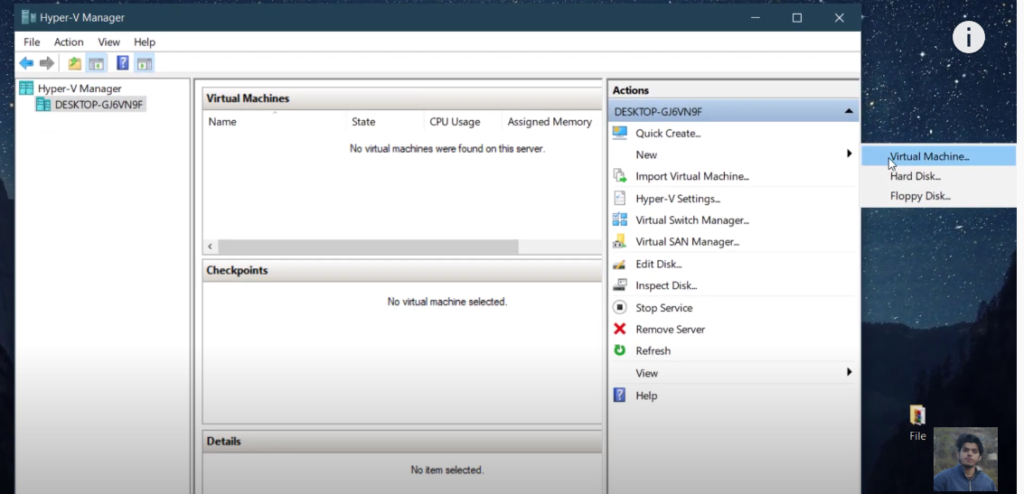
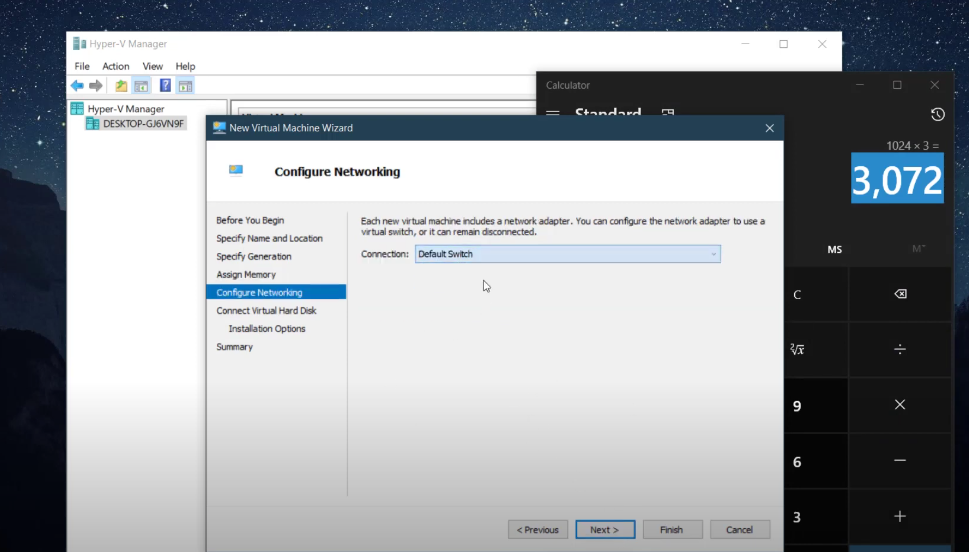
Now, open Hyper-v, hover over “new” towards the right, and click “virtual machine.” Click next, and name your virtual machine, then select “generation 2.” After heading to the next page, specify the amount of ram you would like your virtual machine to have and check the dynamic memory box. For network connection, switch it to default switch. From here, proceed to the next page and click “use an existing virtual hard disk.” Select the flash VM image and finish the setup.
Now, right click the virtual machine and select “connect.” Your virtual machine should begin booting at this point. It takes about twenty to thirty minutes to boot for the first time. When it’s close to being done, you should see a windows 10x logo on the screen before entering the setup. You have now successfully installed Windows 10x on your PC.
Source: Tech Sanjeet (YouTube channel)
Tech Sanjeet YouTube Channel link: https://www.youtube.com/channel/UC_7Ulu2-XHUDudpp4C7N-iw